I wanted a portable mill to demonstrate my CNC control hardware at shows like NAMES. I bought one of the ubiquitous minimills and started in. First, there were some things that needed to be fixed for proper operation. First, the Z axis was a horrible mess of backlash. So, I fitted a small ballscrew. It had to be small to fit between the vertical slide and the column. Then, I had to adapt motors to the X and Y handles. After some use, I discovered the Y leadscrew did NOT have a bearing at the crank, but the X axis DID! I carved away a round pocket at the front and behind the bracket to fit a pair of ball bearings there. The nut that holds the handle on also preloads the bearings.
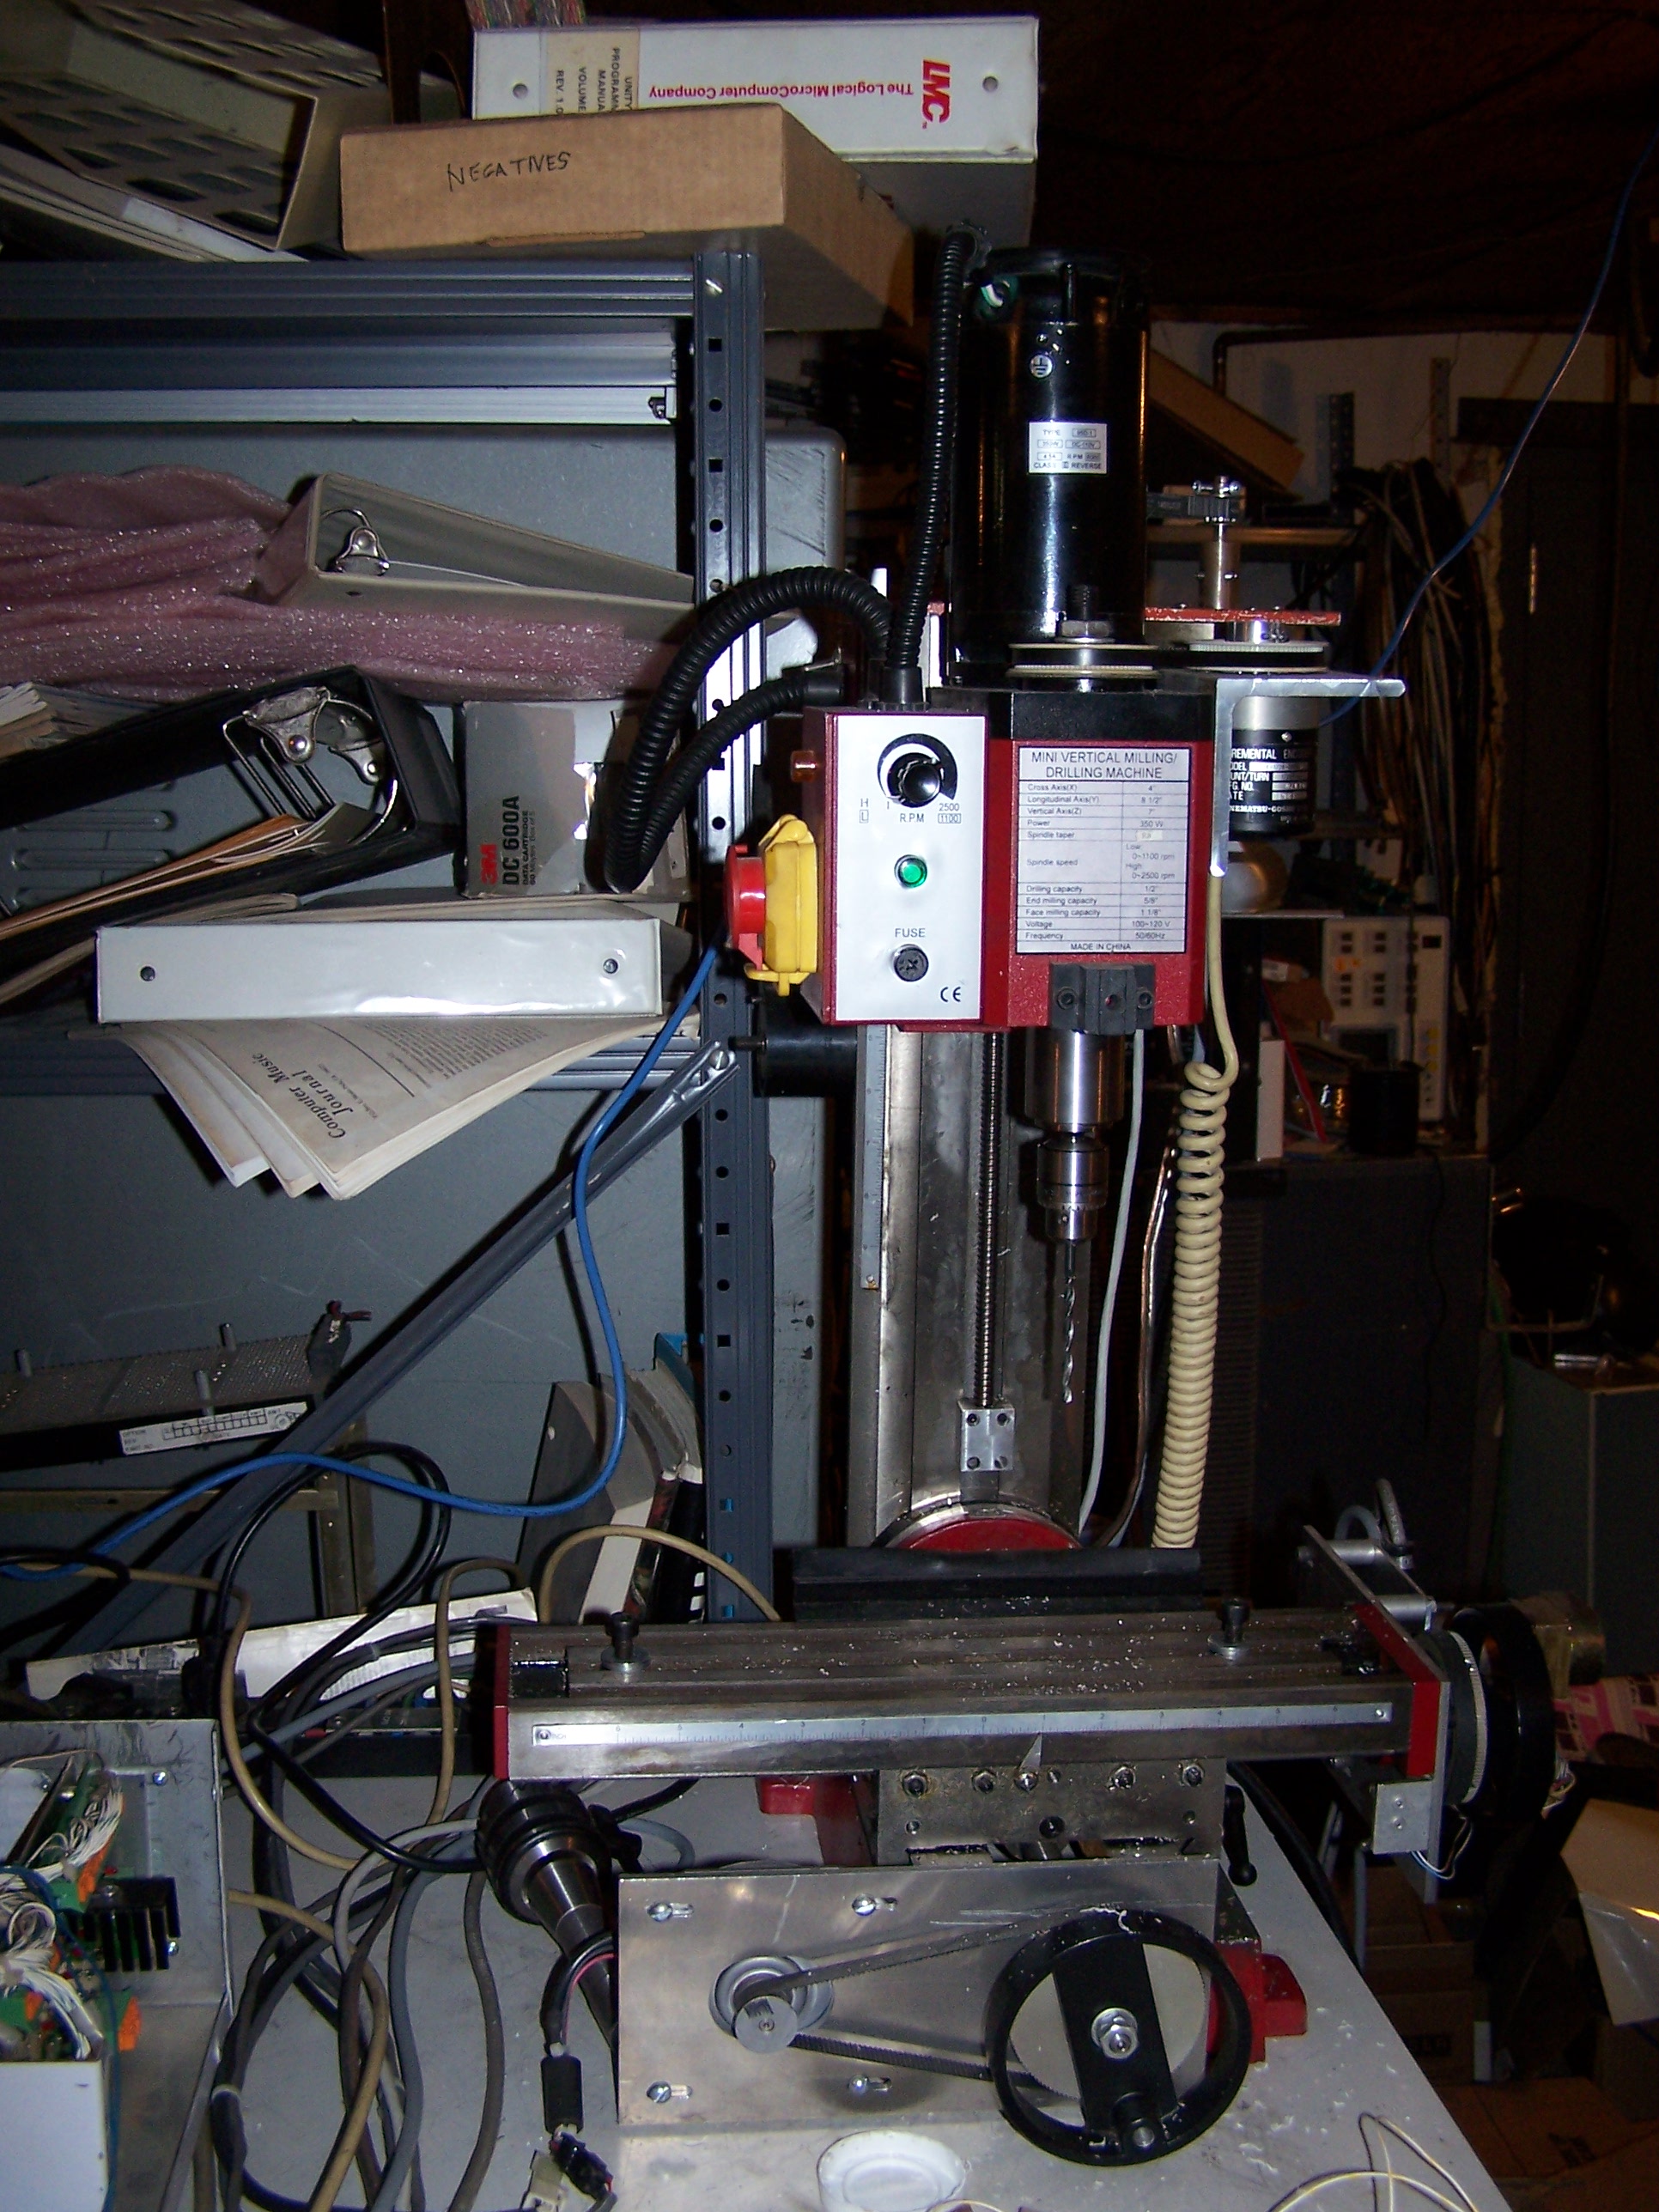
Here’s a close-up of the Z axis mods:
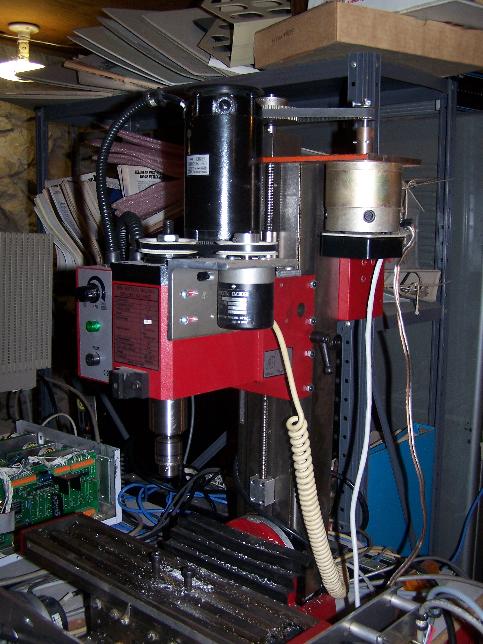
This machine has a mixture of brush and brushless motors on it, it was a testbed for various developments. I used the Pico Systems Universal PWM controller and Pico Systems PWM servo amplifiers to move the motors.
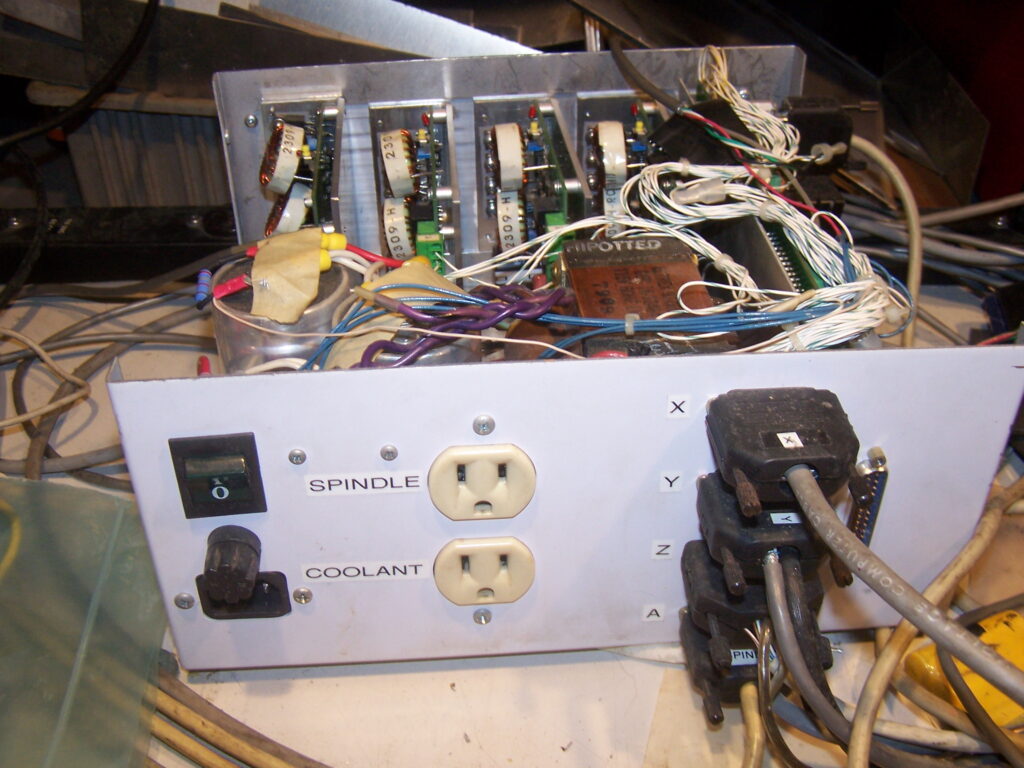
Here is the CNC control box. The power supply is in the front, the servo amps are along the back on a heat sink, the Universal PWM Controller is on the right.
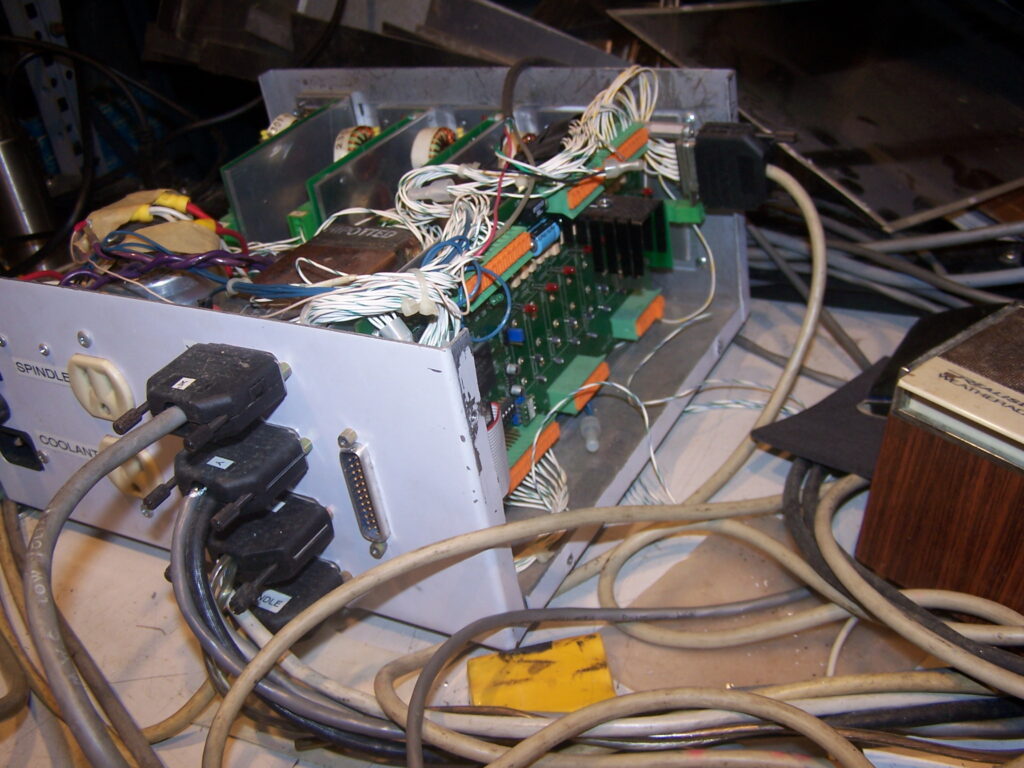
And, here’s a view of the controller board :
This system has an encoder on the spindle so it can do rigid tapping. The spindle motor can be connected to a servo amplifier so it can be reversed to bring the tap back out of the hole. The software keeps the Z axis in sync with the spindle rotation so as not to bind the tap or damage the thread.